How to Iron a T-Shirt
in 5 Easy Steps
Ironing a T-shirt is easier than you think! It keeps your shirt looking fresh and wrinkle-free. Follow these simple steps to look smooth!
1. Prepare your Ironing Space & Clothes:
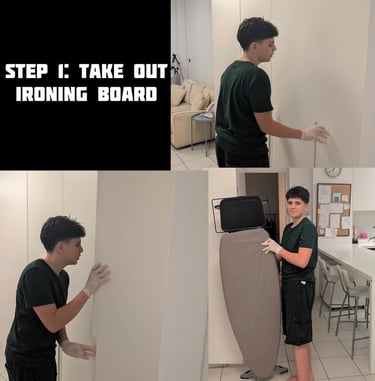
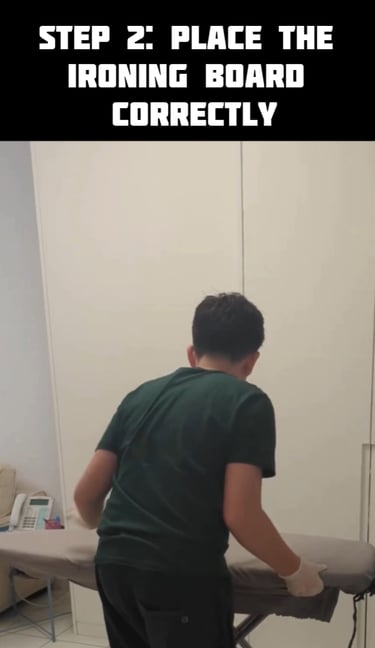
Get the ironing board out and open it or find a sturdy flat surface to use
Bring the clothes you want to iron
Check the tag of the clothing to make sure that you can iron it (there will be a small photo of an iron on the tag) and that you know the correct temperature for the iron
Bring the iron and water
2. Prepare the Iron
Plug in the iron and let it heat up. This takes 5-10 minutes
Check the temperature of the iron to make sure that it is ready to iron
Add filtered water if the iron needs water
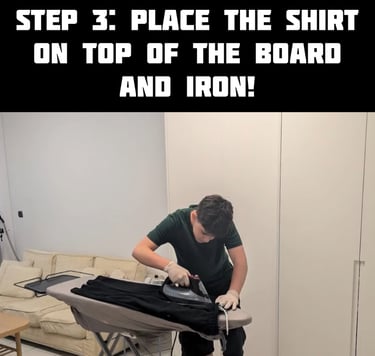
3. Place the T-shirt flat on the ironing board
Place it front upwards so that the whole top of the shirt is on the board
If there is a logo or a design, you might want to iron the shirt inside out or use a pillowcase to cover the design
4. Iron!
Make long slow passes over the entire surface
As you complete a section of the shirt, move the shirt so that you have another section to iron. Complete one side of the shirt, including the sleeves, before you turn the shirt over
Don’t leave the iron in one place too long
If there are many wrinkles in one place, you can use the “steam” option or you can squirt water on the shirt
Turn the T-shirt over and Iron the back
5. Fold or hang the T-shirt immediately after ironing


